· Refik Tefik
A Complete Step-by-Step Guide to Provisioning a Public-Facing Linux VM on Windows Server - Part 2
A hands-on walkthrough for engineers who rent unmanaged dedicated servers and need a native, internet-facing Linux environment living alongside Windows.
Phase 3: Internal Routing via Netplan
The hypervisor plumbing is done. Now we configure Ubuntu itself to actually route traffic out to the internet. Because enterprise hosts rarely offer DHCP for a single bridged IP, we configure the network manually with Netplan (which drives systemd-networkd under the hood).
Step 3.1 — Open the Netplan Configuration
Connect to the VM via the Hyper-V console and open the config file:
sudo nano /etc/netplan/01-netcfg.yaml(The filename may differ slightly on your install — anything in /etc/netplan/ ending in .yaml is fair game. If there's an existing file, you can edit it.)
Step 3.2 — Understand the /32 Subnet Catch
When you're assigning a single discrete public IP, best practice is to give it a /32 subnet mask. A /32 means "this address, and only this address" — maximum network isolation.
But there's a catch. A /32 mask tells the Linux kernel that it's the only machine on its network segment. With no other addresses in its subnet, the kernel can't "see" the default gateway through normal routing logic — the gateway appears to be on a different network entirely, so the kernel refuses to route to it.
The fix: the on-link: true directive. This explicitly tells the kernel, "Trust me, the gateway is directly reachable on this link even though it's outside my subnet." It forces the route to work despite the /32 isolation.
Step 3.3 — Write the Configuration
Enter the following, substituting your real values. YAML is whitespace-sensitive — use spaces, not tabs, and keep the indentation exact:
network:
  version: 2
  renderer: networkd
  ethernets:
    eth0:
      dhcp4: false
      addresses:
        - 203.0.113.50/32      # Your discrete VM's public IP
      routes:
        - to: default
          via: 198.51.100.1    # Your host server's gateway
          on-link: true        # Forces the route past the /32 isolation
      nameservers:
        addresses: [8.8.8.8, 1.1.1.1]
A few notes on the values:
Replace
203.0.113.50with the additional IP you purchased.Replace
198.51.100.1with your host server's gateway (from the provider's networking page — not the VM's own IP).The interface name (
eth0) may differ; runip ato confirm yours (it could be something likeeth0,ens33, etc.).8.8.8.8and1.1.1.1are Google and Cloudflare public DNS; swap in your preferred resolvers if you like.
Step 3.4 — Apply and Verify
Save the file (in nano: Ctrl+O, Enter, Ctrl+X), then apply:
sudo netplan applyVerify the VM is online:
ip a                    # Confirm the IP is assigned to the interface
ip route                # Confirm the default route is present
ping -c 4 1.1.1.1       # Test raw internet connectivity
ping -c 4 google.com    # Test DNS resolution
If all four checks pass, your Linux VM is now a fully independent server reaching the outside world on its own public IP.

Phase 4: Securing the Perimeter (SSH & UFW)
Your VM now has a public IP, which means it is exposed to the entire internet. Automated botnets will begin port-scanning and brute-forcing it within minutes. Hardening isn't optional, and it should happen before you load any application or data.
Step 4.1 — Set Up Key-Based SSH
Passwords are the weakest link on a public IP. We'll replace them with an Ed25519 key pair (modern, fast, and secure).
On your local workstation, generate a key pair:
ssh-keygen -t ed25519 -C "your_email_or_label"Then copy the public key to the VM. The easy way:
ssh-copy-id youruser@203.0.113.50Or manually append the contents of your local ~/.ssh/id_ed25519.pub to the VM's ~/.ssh/authorized_keys file.
Now test it. Open a new terminal and confirm you can log in with the key before you disable passwords — this prevents locking yourself out:
ssh youruser@203.0.113.50 # Your server IP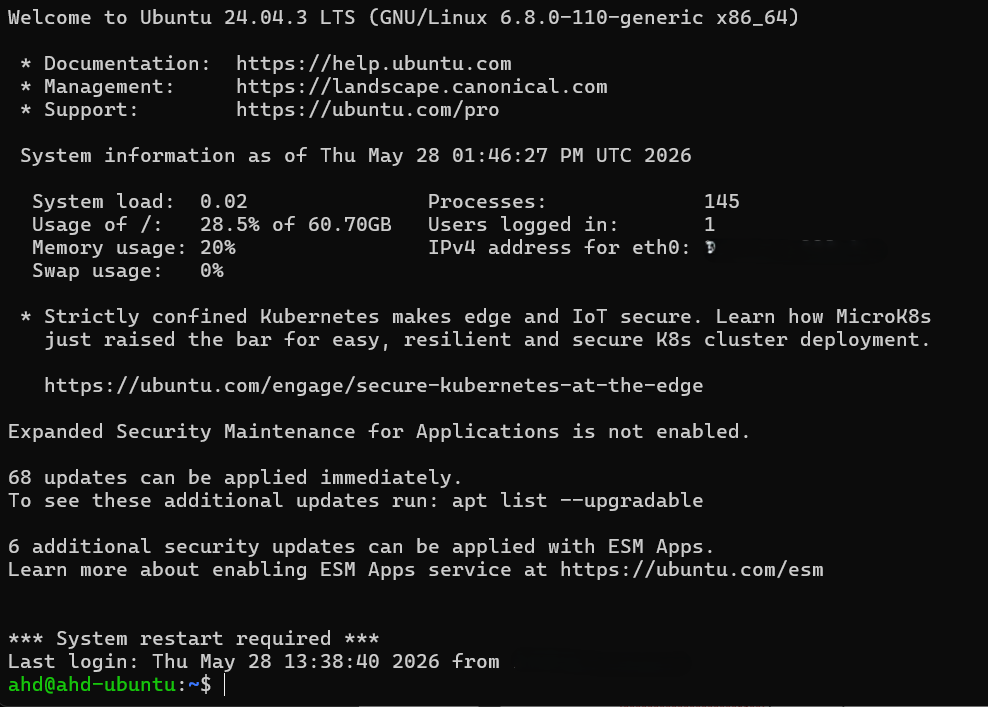
Step 4.2 — Disable Password Authentication
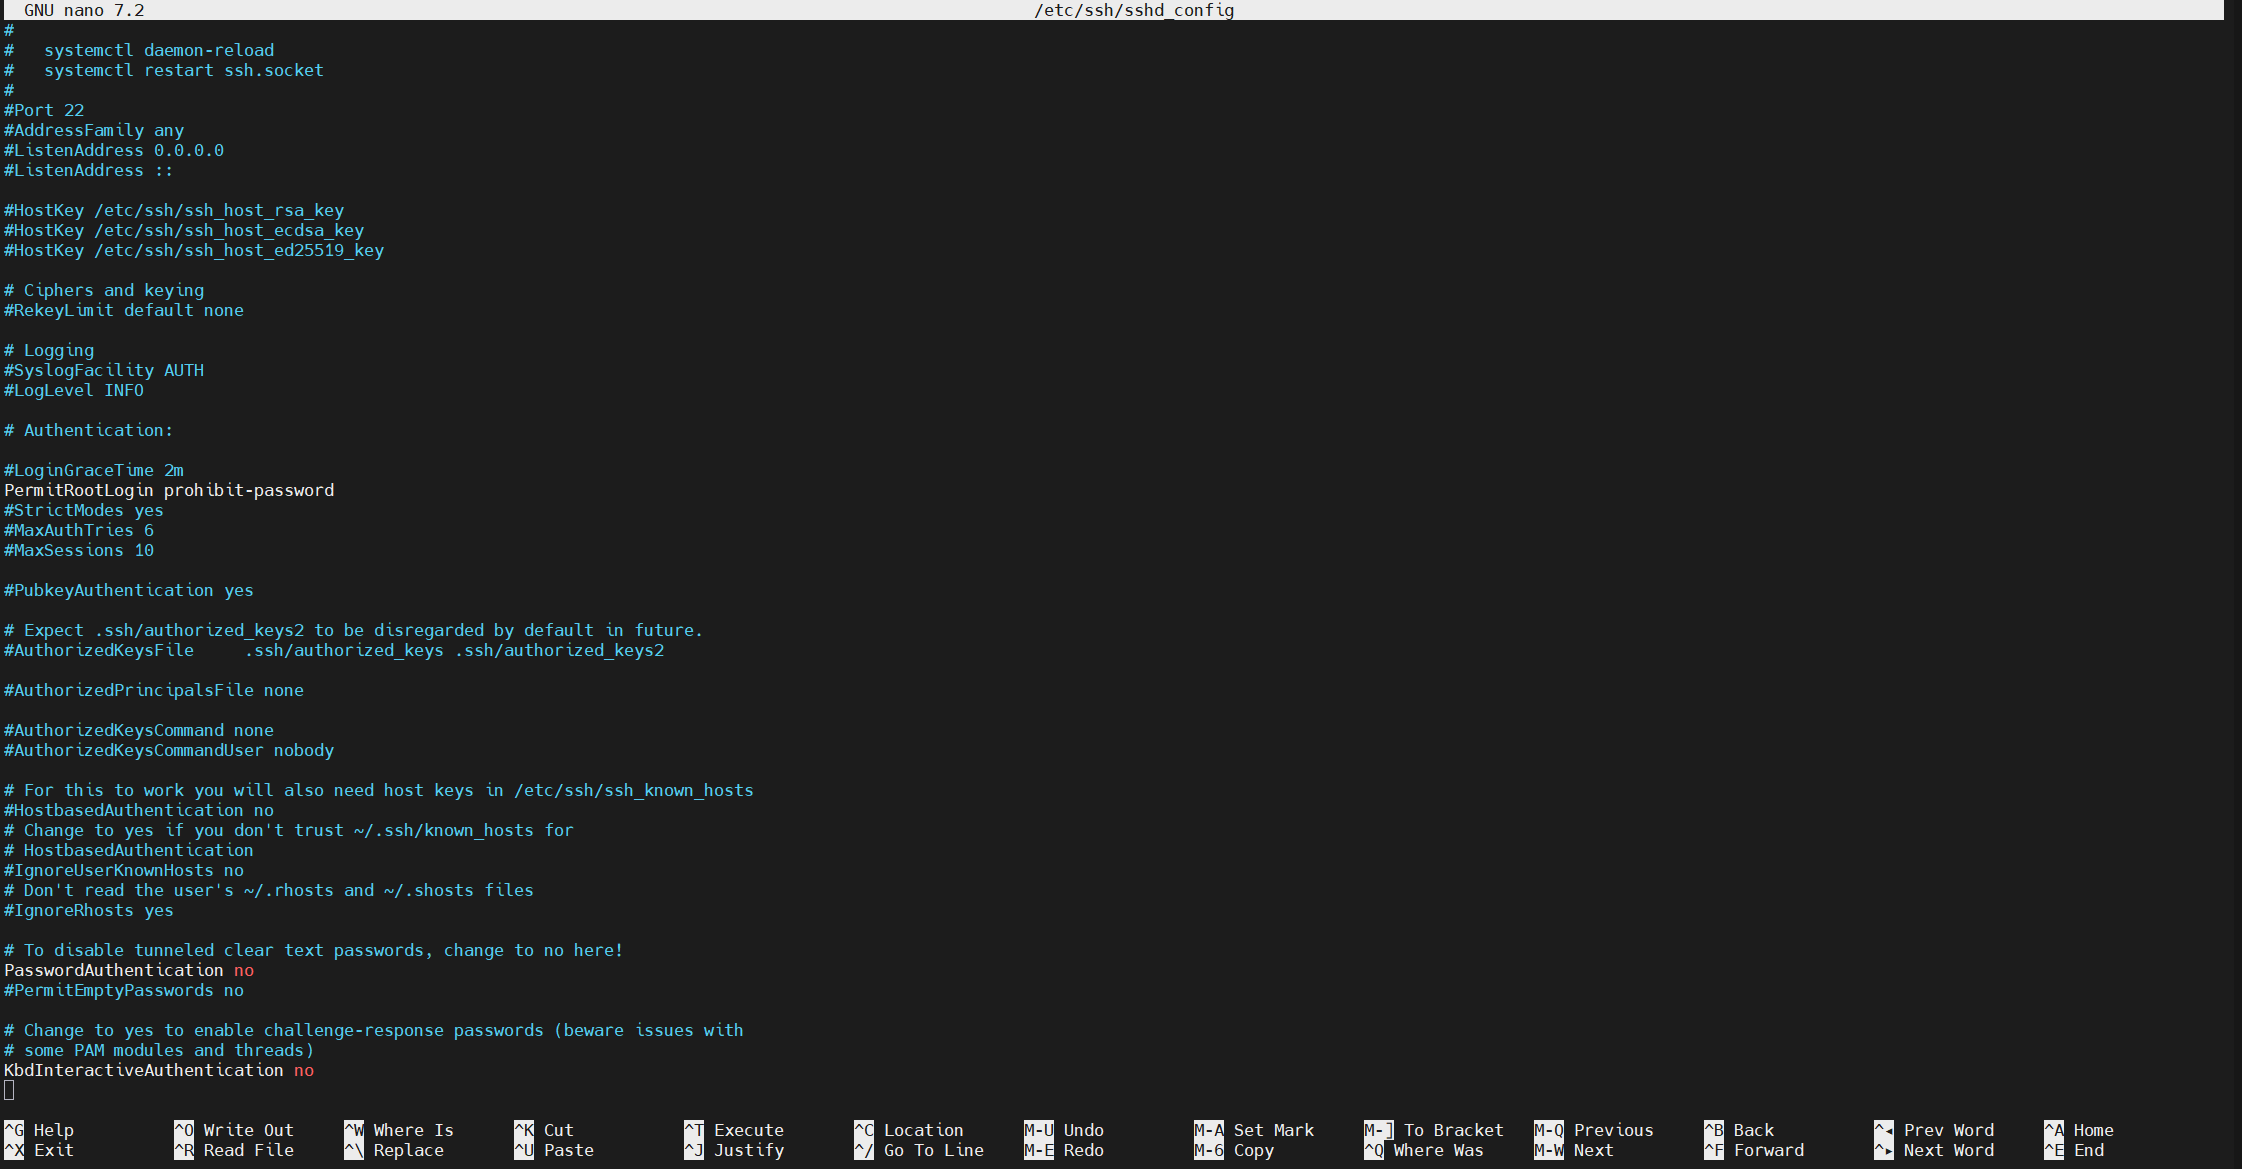
Once key login works, sever the password attack vector. Edit the SSH daemon config:
sudo nano /etc/ssh/sshd_configSet (or uncomment and change) these lines:
PasswordAuthentication no
PermitRootLogin prohibit-password
PermitRootLogin prohibit-password lets root in only via key, never via password — a sensible middle ground.
Then restart SSH:
sudo systemctl restart sshFrom this point on, only a device holding your private key can open a shell.
Conclusion
By combining a few precise techniques — Hyper-V's Generation 2 UEFI architecture, the Secure Boot template fix, a provider-issued static virtual MAC, and a carefully crafted Netplan /32 + on-link route — you've pulled a native Linux environment completely out of the Windows host's NAT shadow.
The result is a high-performance, fully isolated Linux server with its own discrete public IP, drawing on all the muscle of the bare-metal machine while staying cleanly separated from the Windows host layer. It's a rock-solid foundation for web servers, databases, API backends, or anything else you need to run on real Linux — right next to your Windows Server, on hardware you already pay for.