How to Add Custom Modules to Medusa
A practical Medusa v2 guide to building, registering, migrating, and using a custom module without modifying core commerce code.
Medusa already gives you modules for products, carts, orders, payments, fulfillment, and other commerce concerns. Real stores, however, rarely stop at the standard domain model. You may need product reviews, warranties, marketplace vendors, loyalty accounts, or an integration with an external system.
That is what custom modules are for.
A Medusa module is a self-contained package of data models and business logic for one domain. Medusa registers the module's main service in its dependency-injection container, making the functionality available to workflows, API routes, subscribers, and scheduled jobs. Because the customization lives outside Medusa's core packages, upgrades remain much less painful.
This tutorial targets Medusa v2 and builds a small review module from scratch.
Module or plugin?
The terms are easy to mix up:
Use a module for one business domain or third-party integration.
Use a plugin when you want to distribute a larger bundle that may contain modules, workflows, API routes, subscribers, and Admin extensions.
If the functionality is specific to one Medusa application, start with a local module. You can package it into a plugin later if it becomes reusable across projects.
What we will build
Our module will own a Review data model with a title, rating, and optional content. Its directory will contain index.ts, service.ts, models/review.ts, and a generated migrations directory.
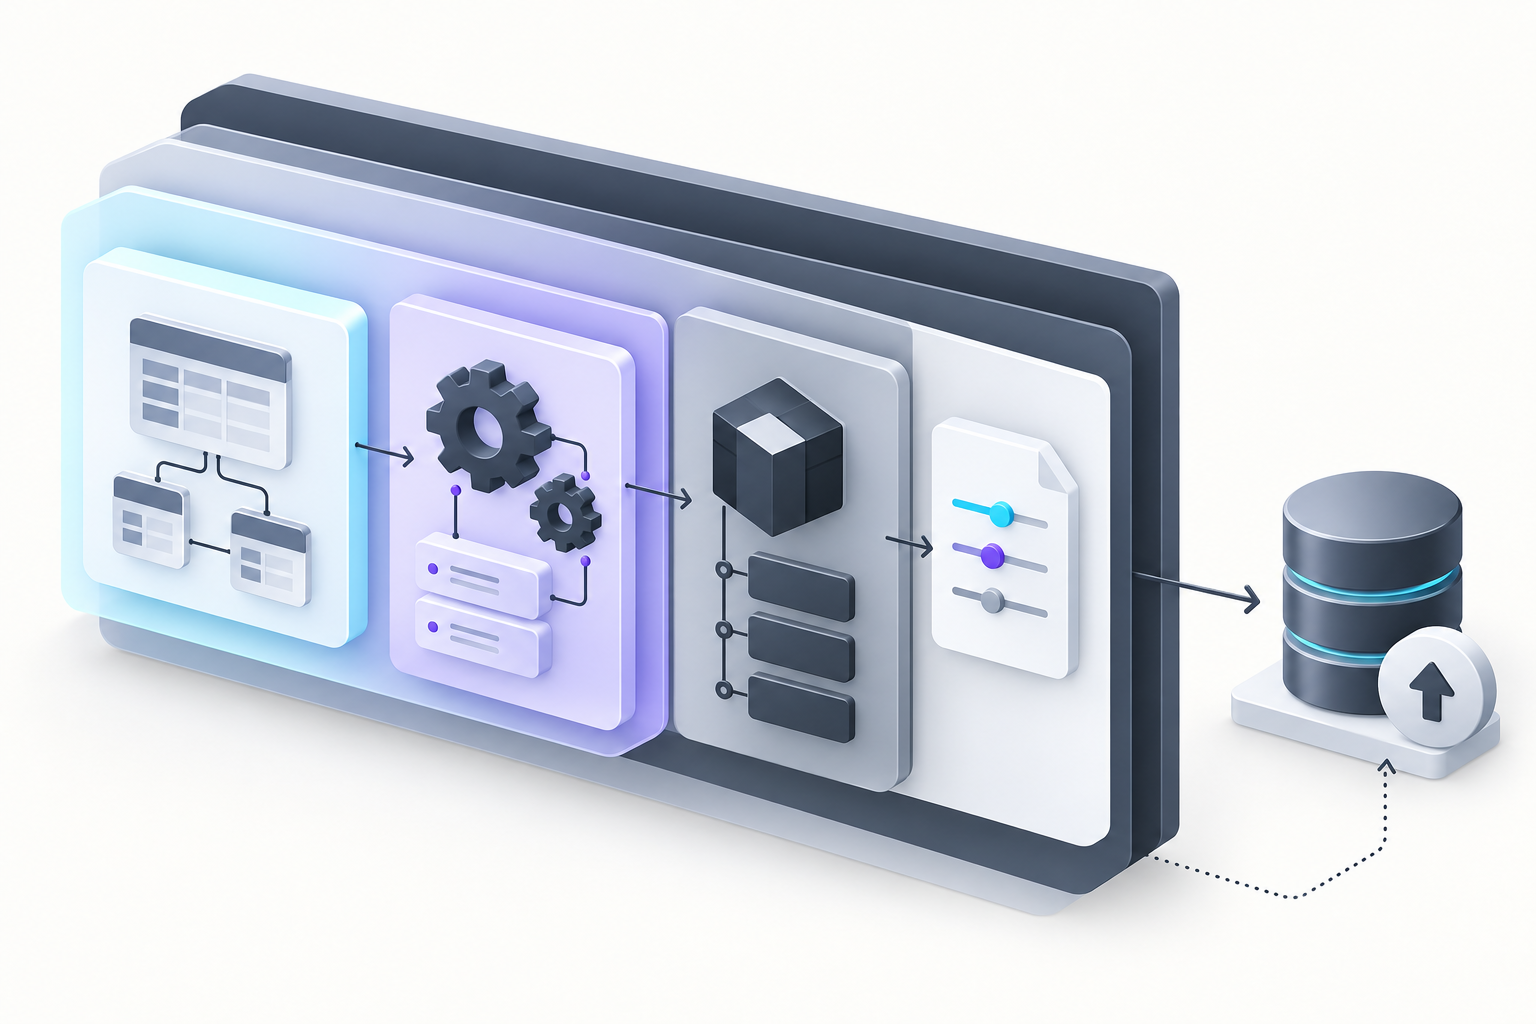
The implementation has five essential steps:
Define the data model.
Create the module service.
Export the module definition.
Register the module in
medusa-config.ts.Generate and run a database migration.
1. Define the data model
Create src/modules/review/models/review.ts:
import { model } from "@medusajs/framework/utils";

const Review = model.define("review", {
  id: model.id().primaryKey(),
  title: model.text(),
  rating: model.number(),
  content: model.text().nullable(),
});

export default Review;
Medusa's Data Model Language, or DML, turns this definition into a database-backed model. The first argument to model.define is the database table name; Medusa recommends snake case for names containing multiple words.
You do not need to declare created_at, updated_at, or deleted_at. Medusa adds those fields automatically. Property builders can also express database behavior such as .unique(), .index(), .default(...), and .nullable().
For a production review system, you would probably add a check constraint limiting rating, as well as identifiers that connect the review to a customer and product. Cross-module relationships deserve special treatment: use a module link instead of importing and directly relating your model to a model owned by a core Medusa module. This preserves module isolation.
2. Create the module service
Create src/modules/review/service.ts:
import { MedusaService } from "@medusajs/framework/utils";
import Review from "./models/review";

class ReviewModuleService extends MedusaService({
  Review,
}) {}

export default ReviewModuleService;
MedusaService is a service factory. By passing it the Review model, the resulting service receives generated methods such as createReviews, listReviews, retrieveReview, updateReviews, and deleteReviews.
You can add domain-specific methods inside the class as the module grows. Keeping moderation, rating calculations, or external API calls behind this service gives the rest of the application a stable interface. A module that only wraps a third-party API and owns no database models can export a regular class instead.
3. Export the module definition
Create src/modules/review/index.ts:
import { Module } from "@medusajs/framework/utils";
import ReviewModuleService from "./service";

export const REVIEW_MODULE = "review";

export default Module(REVIEW_MODULE, {
  service: ReviewModuleService,
});
Module connects a registration name to the module's main service. Medusa registers the service under review. Exporting the name as a constant avoids scattering the string through your codebase. Module names may contain only alphanumeric characters and underscores.
4. Register the module
Add the module to the modules array in medusa-config.ts:
module.exports = defineConfig({
  projectConfig: {
    // keep your existing project configuration
  },
  modules: [
    {
      resolve: "./src/modules/review",
    },
  ],
});
If your configuration already contains other modules, keep them and add only the new entry. The resolve value must point to the module directory, not to service.ts.
The same configuration object can pass module options:
modules: [
  {
    resolve: "./src/modules/review",
    options: {
      autoApprove: false,
    },
  },
];
Options are useful for feature switches, endpoints, and credentials. Read them in the main service constructor and validate required values early. Never hard-code secrets in module source; pass environment variables through configuration instead.
5. Generate and run the migration
The DML model describes the desired schema, but it does not change the database by itself. Generate a migration from the Medusa project root:
npx medusa db:generate reviewMedusa creates a migration under src/modules/review/migrations. Review that generated file and commit it to version control. Then apply pending migrations:
npx medusa db:migrateRun db:generate review again whenever the module's data model changes. Do not edit an old migration that has already run in another environment; generate a new one so every environment can move forward consistently.
6. Use the module in application code
Once registered, the service can be resolved from Medusa's container with the exported module name:
import { REVIEW_MODULE } from "../modules/review";
import ReviewModuleService from "../modules/review/service";

const reviewService: ReviewModuleService = container.resolve(REVIEW_MODULE);
const reviews = await reviewService.listReviews();
The source of container depends on the customization:
A workflow step receives it in its second argument.
An API route exposes it as
req.scope.Subscribers and scheduled jobs receive a container in their arguments.
For reads, resolving the service and calling it directly is often enough. For writes that participate in a business process, put the operation in a workflow. Workflows provide composition, retry behavior, and compensation logic when a later step fails.
Here is a minimal workflow that creates a review and removes it if the workflow must roll back:
import {
  createStep,
  createWorkflow,
  StepResponse,
  WorkflowResponse,
} from "@medusajs/framework/workflows-sdk";
import { REVIEW_MODULE } from "../modules/review";
import ReviewModuleService from "../modules/review/service";

type CreateReviewInput = {
  title: string;
  rating: number;
  content?: string | null;
};

const createReviewStep = createStep(
  "create-review",
  async (input: CreateReviewInput, { container }) => {
    const reviewService: ReviewModuleService = container.resolve(REVIEW_MODULE);
    const review = await reviewService.createReviews(input);
    return new StepResponse(review, review.id);
  },
  async (reviewId, { container }) => {
    if (!reviewId) return;
    const reviewService: ReviewModuleService = container.resolve(REVIEW_MODULE);
    await reviewService.deleteReviews(reviewId);
  },
);

export const createReviewWorkflow = createWorkflow(
  "create-review",
  (input: CreateReviewInput) => {
    const review = createReviewStep(input);
    return new WorkflowResponse(review);
  },
);
An API route can validate its request body and then execute this workflow. Keeping HTTP concerns in the route, orchestration in the workflow, and domain/data logic in the module service makes each layer easier to test and reuse.

Common mistakes
Pointing resolve at the service file
Register ./src/modules/review, not ./src/modules/review/service. Medusa expects the directory's default module definition export.
Forgetting the migration
Registering a model does not create its table. Generate the migration, inspect it, run it, and commit it.
Reaching into another module's internals
Modules are intentionally isolated. Do not import repositories or models from core modules to create database relations. Use module links and query linked data through Medusa's supported APIs.
Putting an entire feature in the service
The module service should own the domain interface. Multi-step application flows belong in workflows; transport and validation belong in API routes; reactions to events belong in subscribers.
Treating local modules as plugins
A local module is ideal for application-specific domain logic. If you need a distributable package containing routes, workflows, Admin UI code, and modules, create a plugin.
Testing and production checklist
Before shipping a custom module:
Add module integration tests with Medusa's
moduleIntegrationTestRunner.Validate API input before passing it into a workflow.
Add database constraints and indexes for invariants and frequent queries.
Keep external credentials in environment variables and validate module options at startup.
Test both a fresh database migration and an upgrade from the previous schema.
Use workflows for multi-step writes and implement meaningful compensation functions.
Use module links for relationships with data owned by another module.
Final thoughts
The mechanics of a Medusa module are deliberately small: model, service, definition, registration, and migration. The real architectural win is the boundary those pieces create. Your custom commerce logic gets a clear owner and a stable interface without patching the core platform.
Start with one focused domain. Keep database ownership inside the module, expose behavior through its service, and compose that behavior with workflows. Following those rules turns a quick customization into something that can survive new features, new integrations, and Medusa upgrades.